


Most People Do It Wrong
Observation decks attract enormous crowds at the wrong times, with the wrong equipment, in the wrong light, and leave disappointed. The view is not the problem. The approach is the problem. There is a version of the observation deck experience that is genuinely spectacular – city spread below you, light doing something extraordinary, the sense of scale making everything feel both large and comprehensible at once. Most visitors do not have that experience because they arrive at noon on a sunny day, spend fifteen minutes with their phone, and leave.
This guide is about doing it properly. Which time of day to choose, what to actually bring, how to work around the crowds, and how to get photographs that look like you intended them rather than like a record that you were there.
The Time of Day Question (This Is the Most Important Thing)
Midday is almost always the worst time to visit an observation deck, despite being the most popular. The light is direct, harsh, and flat. The shadows are straight down. The city looks washed out in a way that photographs poorly and is slightly anticlimactic in person. The crowds are also at their highest at midday because it is the most obvious time to go.
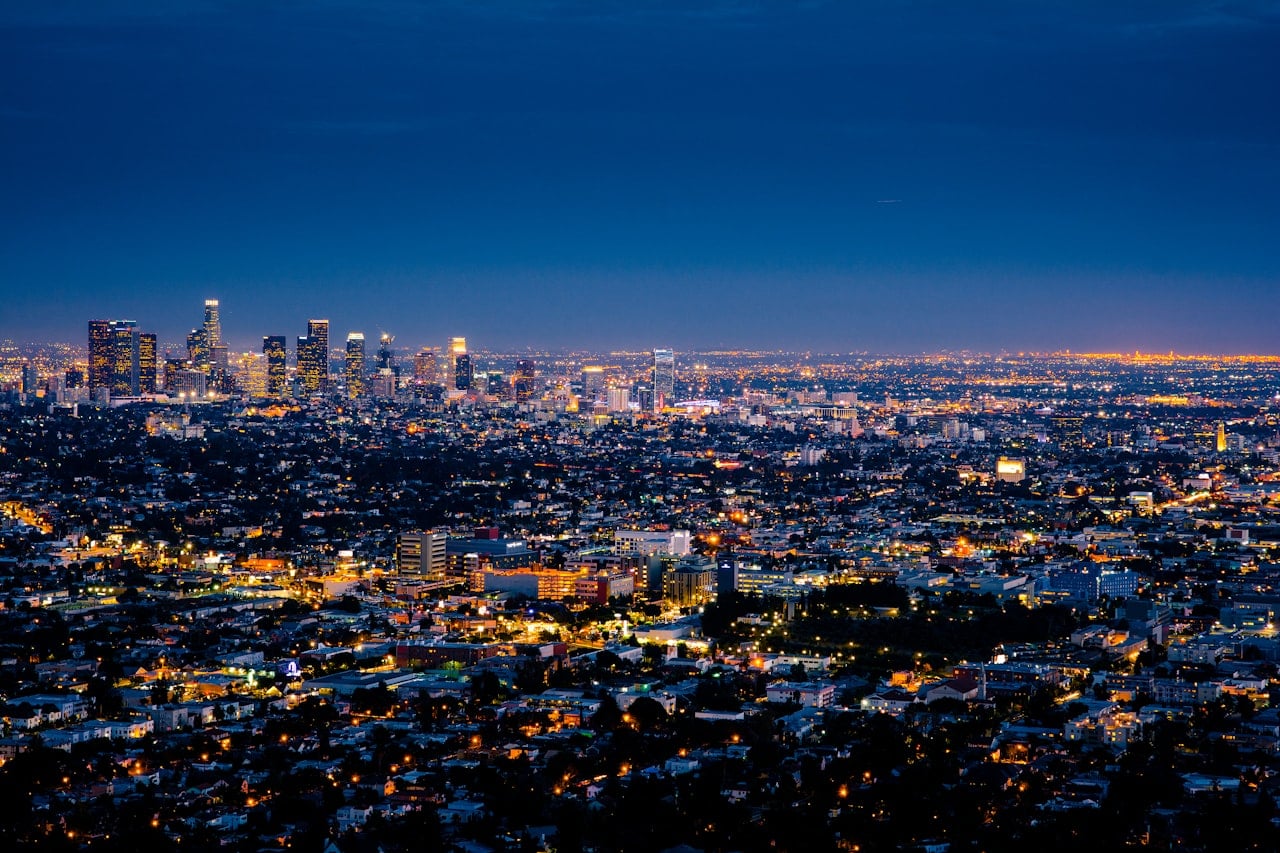
Golden hour – the hour before sunset – is the answer. The city turns amber, the shadows lengthen and create depth and dimension, the light does things that no camera filter can replicate because they are happening in the actual world in front of you. The sky goes through more colour variation in that one hour than in the entire rest of the day. If you visit an observation deck once on any trip, visit it in the last hour before sunset.
Blue hour – the 20-40 minutes after the sun disappears but before full darkness – is a close second and in some ways more photogenic. The city lights come on. The sky is a deep gradient of indigo and navy. The balance between the remaining natural light in the sky and the artificial light of the city creates a quality that is almost impossible to replicate at any other time. The challenge is that blue hour is short, moves fast, and requires you to already be on the deck before it starts.
Golden Hour vs Blue Hour vs Midday: What You Are Actually Getting
| Time | Light Quality | Crowds | Photography | Mood |
|---|---|---|---|---|
| Midday | Harsh, flat, direct | Highest | Difficult – overexposed sky, flat city | Clear visibility but sterile |
| Late afternoon (2-4pm) | Improving, softer | High | Decent, better than noon | Good for orientation |
| Golden hour (1hr before sunset) | Warm, directional, beautiful | Medium-high | Excellent – dramatic shadows, warm tones | Genuinely memorable |
| Blue hour (just after sunset) | Cool, balanced, unique | Medium | Best overall for city lights | Magical if you catch it |
| Night (1hr+ after sunset) | City lights only | Lower | Good but needs steady hand | Beautiful, less detail |
| Early morning (sunrise) | Similar to golden hour, cooler | Very low | Excellent | Peaceful, fewer tourists |
What to Actually Bring
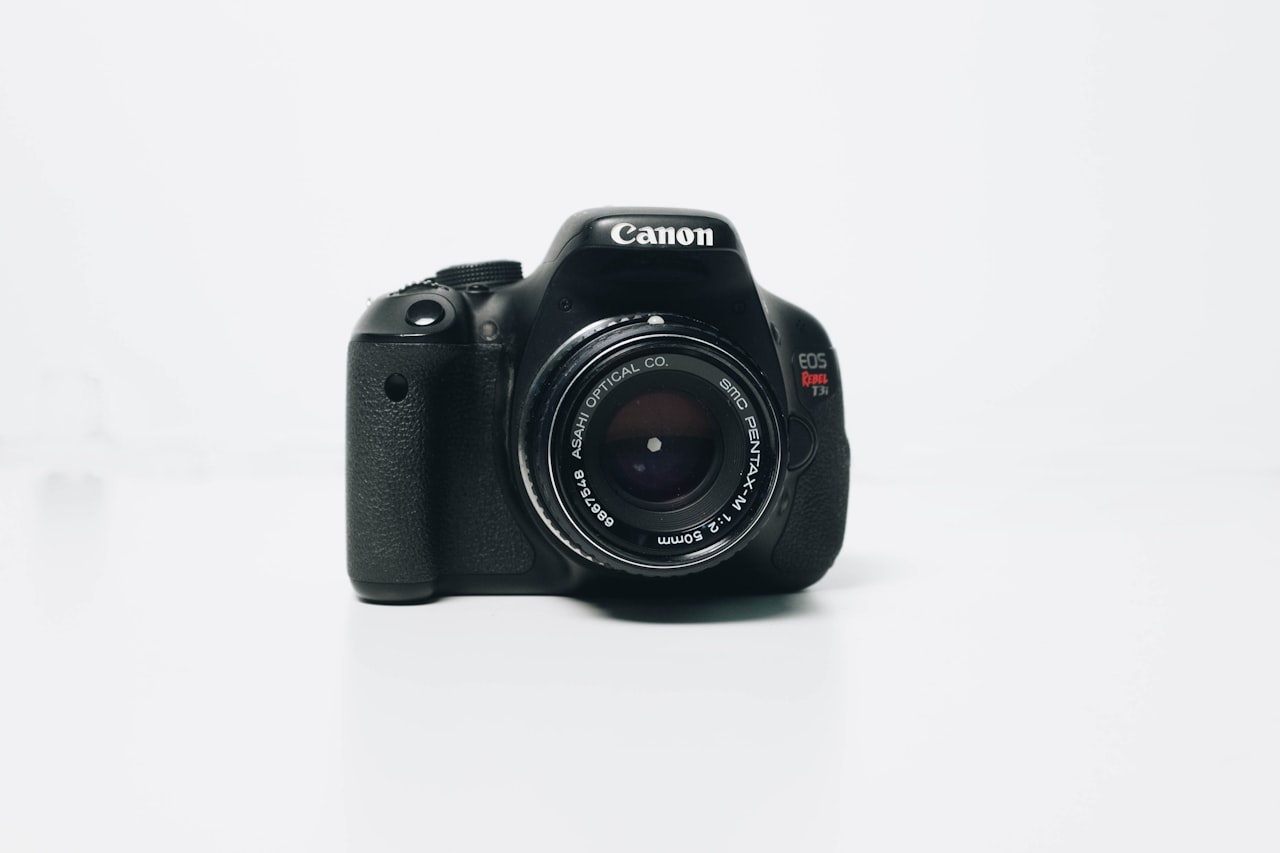
A wide-angle lens or a phone with an ultrawide mode. The most common photography mistake on observation decks is trying to capture too much with a standard focal length, which compresses the city and removes the sense of scale. Going wider gives you more of the panorama and makes the city look as large as it actually is. Most modern phones have an ultrawide option – use it and then choose the best crop afterward.
A phone grip or small tripod matters more than most people expect. Handheld photos at blue hour and night are difficult because the camera needs a longer exposure time than a handheld shot allows. A small flexible tripod that wraps around a railing, or a suction mount designed for glass, transforms what you can capture in low light. They are not expensive and they take very little space.
Binoculars are underrated. I know this sounds like advice for a birdwatcher rather than an urban traveler, but compact binoculars on an observation deck let you read the city in a completely different way – identifying specific buildings, watching the activity at street level, finding the stadium or the landmark you recognise from inside it. Compact versions fold small enough to fit in a bag without being a burden.
“Golden hour is not a photography trick. It is a reminder that the best version of almost everything looks better in certain light, and observation decks are no exception.”
Working Around the Crowds
Timed entry tickets are your first tool. Most major observation decks now operate on timed entry slots, which means the experience inside is more controlled than it was in the era of general admission queuing. Book the last slot before golden hour begins. This is usually 90 minutes to an hour before the official sunset time – check the exact sunset time for the date you are visiting, because it varies significantly throughout the year.
Once inside, move against the natural flow. Most visitors arrive and walk clockwise, stopping at the same points. Go counterclockwise. Go to the sections facing away from the most famous landmark first – the eastern side when everyone crowds the western view, the less iconic angle when the obvious angle is crowded. You will find more space and often more interesting views in those directions.
The first fifteen minutes after a new timed-entry group is admitted are the most crowded. If you are in a previous group, that is when you move to the spot you want before the new arrivals reach it. If you are in the new group, take ten minutes to walk the whole deck first before settling in anywhere. The overview tells you where the best uncrowded spots are.
How to Actually Take Good Photos Without Professional Gear
Turn off HDR mode for cityscape photography. HDR (high dynamic range) is designed for scenes where the difference between light and shadow is extreme, and it frequently produces images that look over-processed and unnatural. For city panoramas, a single exposure that you adjust in editing afterward usually looks better.
Shoot in RAW format if your camera or phone supports it. JPEG files compress the image data at the moment of capture, which limits how much you can adjust afterward. RAW files preserve all the information the sensor captured, which means the editing latitude is much greater. On golden hour and blue hour shots where the exposure is already doing a lot, that latitude is the difference between a photograph and a record.
Expose for the sky, not the city. The instinct is to get everything bright, but an observation deck photograph where the sky is properly exposed – even slightly underexposed – and the city is darker is almost always more dramatic than one where everything is evenly lit. You can bring up shadow detail in editing. You cannot recover an overexposed sky.
Finally: put the camera down for at least a portion of every observation deck visit. Take the photographs you want, and then stop. Stand at the window and look at the city without a screen in front of your face. The experience of the view – the scale, the movement, the light – exists in three dimensions and the photograph is a flat representation of one angle of it. Both are worth having. The photograph is not a substitute for the experience, and the experience should not be entirely mediated by the attempt to capture it.