








There is a particular kind of new-parent maths that happens at 2:17 a.m. You are counting feeds, wake-ups and the minutes until morning, while also wondering whether the baby is actually asleep. I have found that the right monitor can remove a surprising amount of guesswork. The trick is choosing a system that helps you act, not another screen that makes you stare.
Here is my practical way to choose and set up a smart baby monitor. I will use Nanit as the example because its system brings together sleep tracking, breathing motion monitoring, video history and real-time safety notifications. It is a particularly natural fit if you want one setup that can grow with your family, rather than replacing a basic camera every few months.
Disclosure: this post includes affiliate links, and we may be paid a commission on purchases made through them.
What does your nursery camera need to show?
Start with the room and your actual routine. A camera mounted beside the cot is useful, but the best position depends on whether you want a wide view, a portable option or a second screen for the kitchen. Write down the moments when you most need reassurance: settling, naps, night breathing, early morning wake-ups or checking in while somebody else is on duty.
Nanit makes this decision easier by separating the camera from the way you mount and view it. The Smart Baby Monitor + Flex Stand is a sensible starting point for a flexible room setup. The stand is useful when you are travelling or want to move the camera between a nursery and a temporary sleep space.
- One cot, one room: prioritise a clear, stable view.
- Frequent travel: choose a setup that is easy to reposition.
- Multiple caregivers: consider whether a dedicated display would reduce phone juggling.
- Long-term use: look for sleep insights and accessories that remain useful beyond the newborn stage.
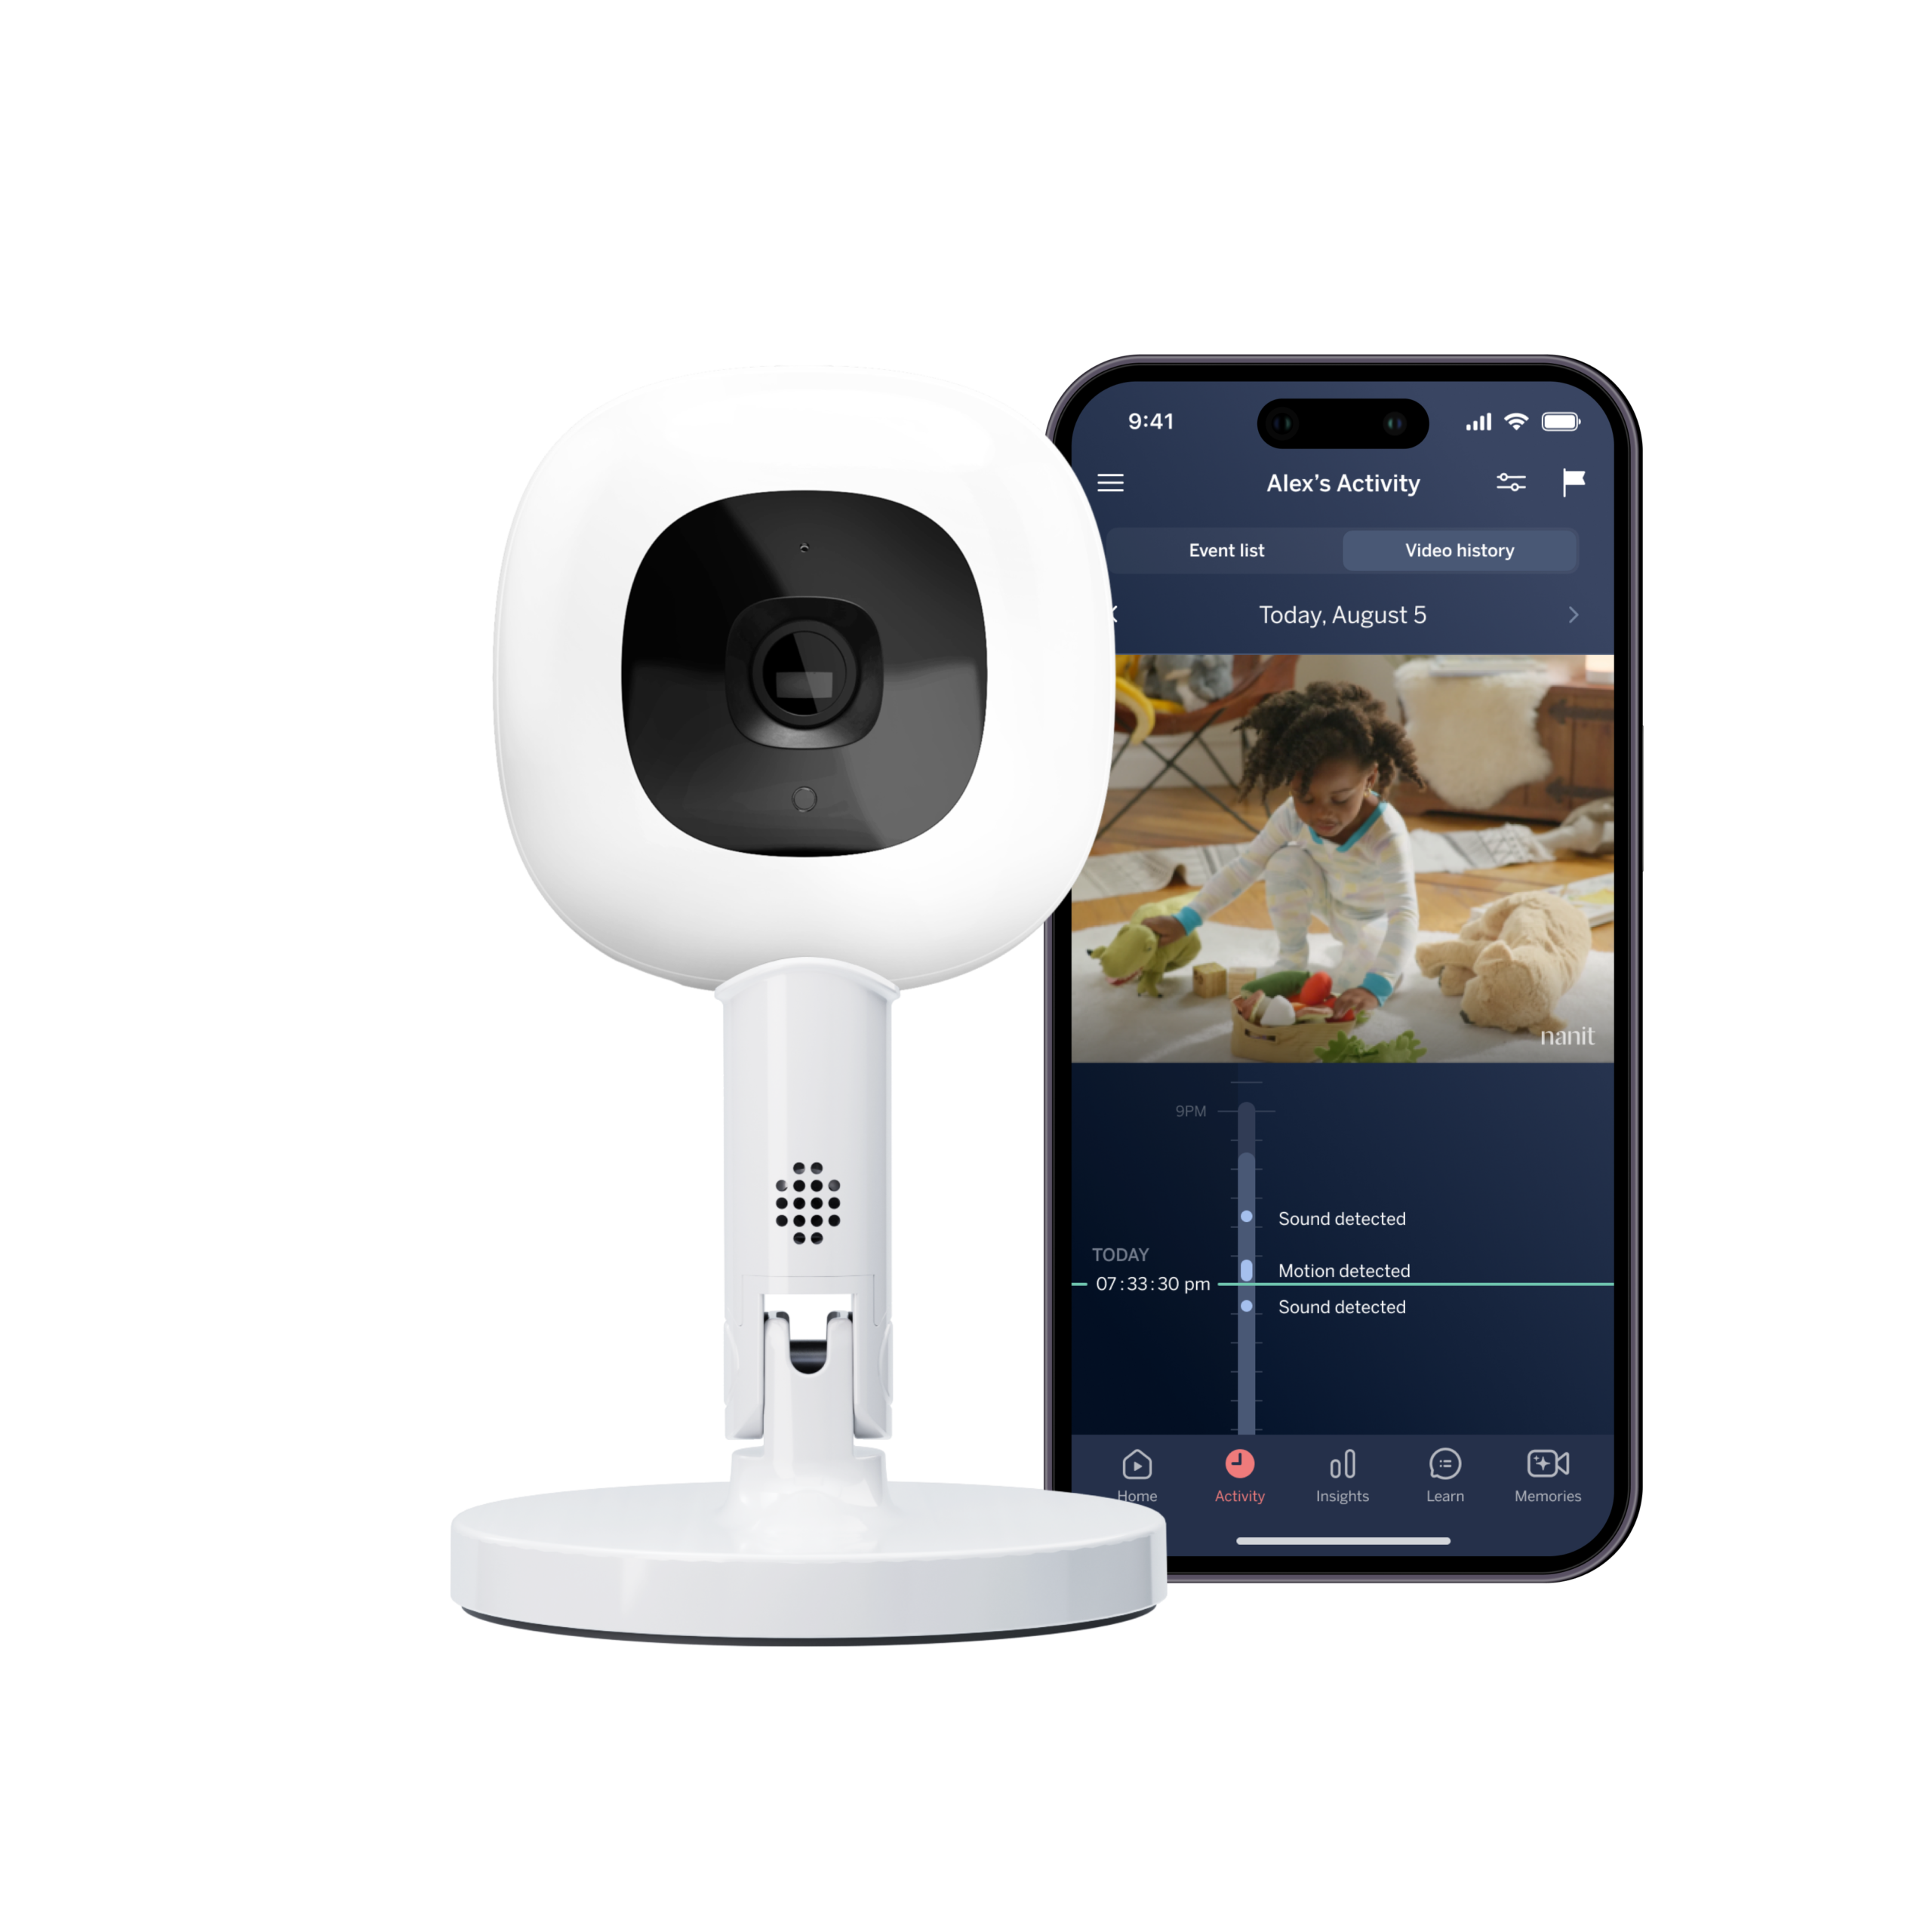
Do not overbuy on day one. A tidy camera view and dependable notifications matter more than a drawer full of accessories. I would first mark the cot, the likely camera position and the nearest power outlet, then choose the product that solves that exact arrangement.
Should you use a phone or a dedicated Nanit display?
Next, decide whether you want to rely on a phone or keep a screen in the room. A phone is convenient when you are already carrying it, while a dedicated display can be calmer during the night. It also means you do not have to unlock a phone every time you want a quick glance.
The Home 8" Display is a good choice for parents who prefer a larger, always-available view on a bedside table or kitchen counter. Pairing it with the Nanit monitor system gives you a practical two-screen approach without turning every check-in into a phone notification.
- Place the display where you can see it without walking into the nursery.
- Keep the camera view clear of blankets, toys and decorative clutter.
- Check the angle at both nap time and bedtime, because the room can look different in changing light.
- Use the app for remote checks and the display for quick local glances.
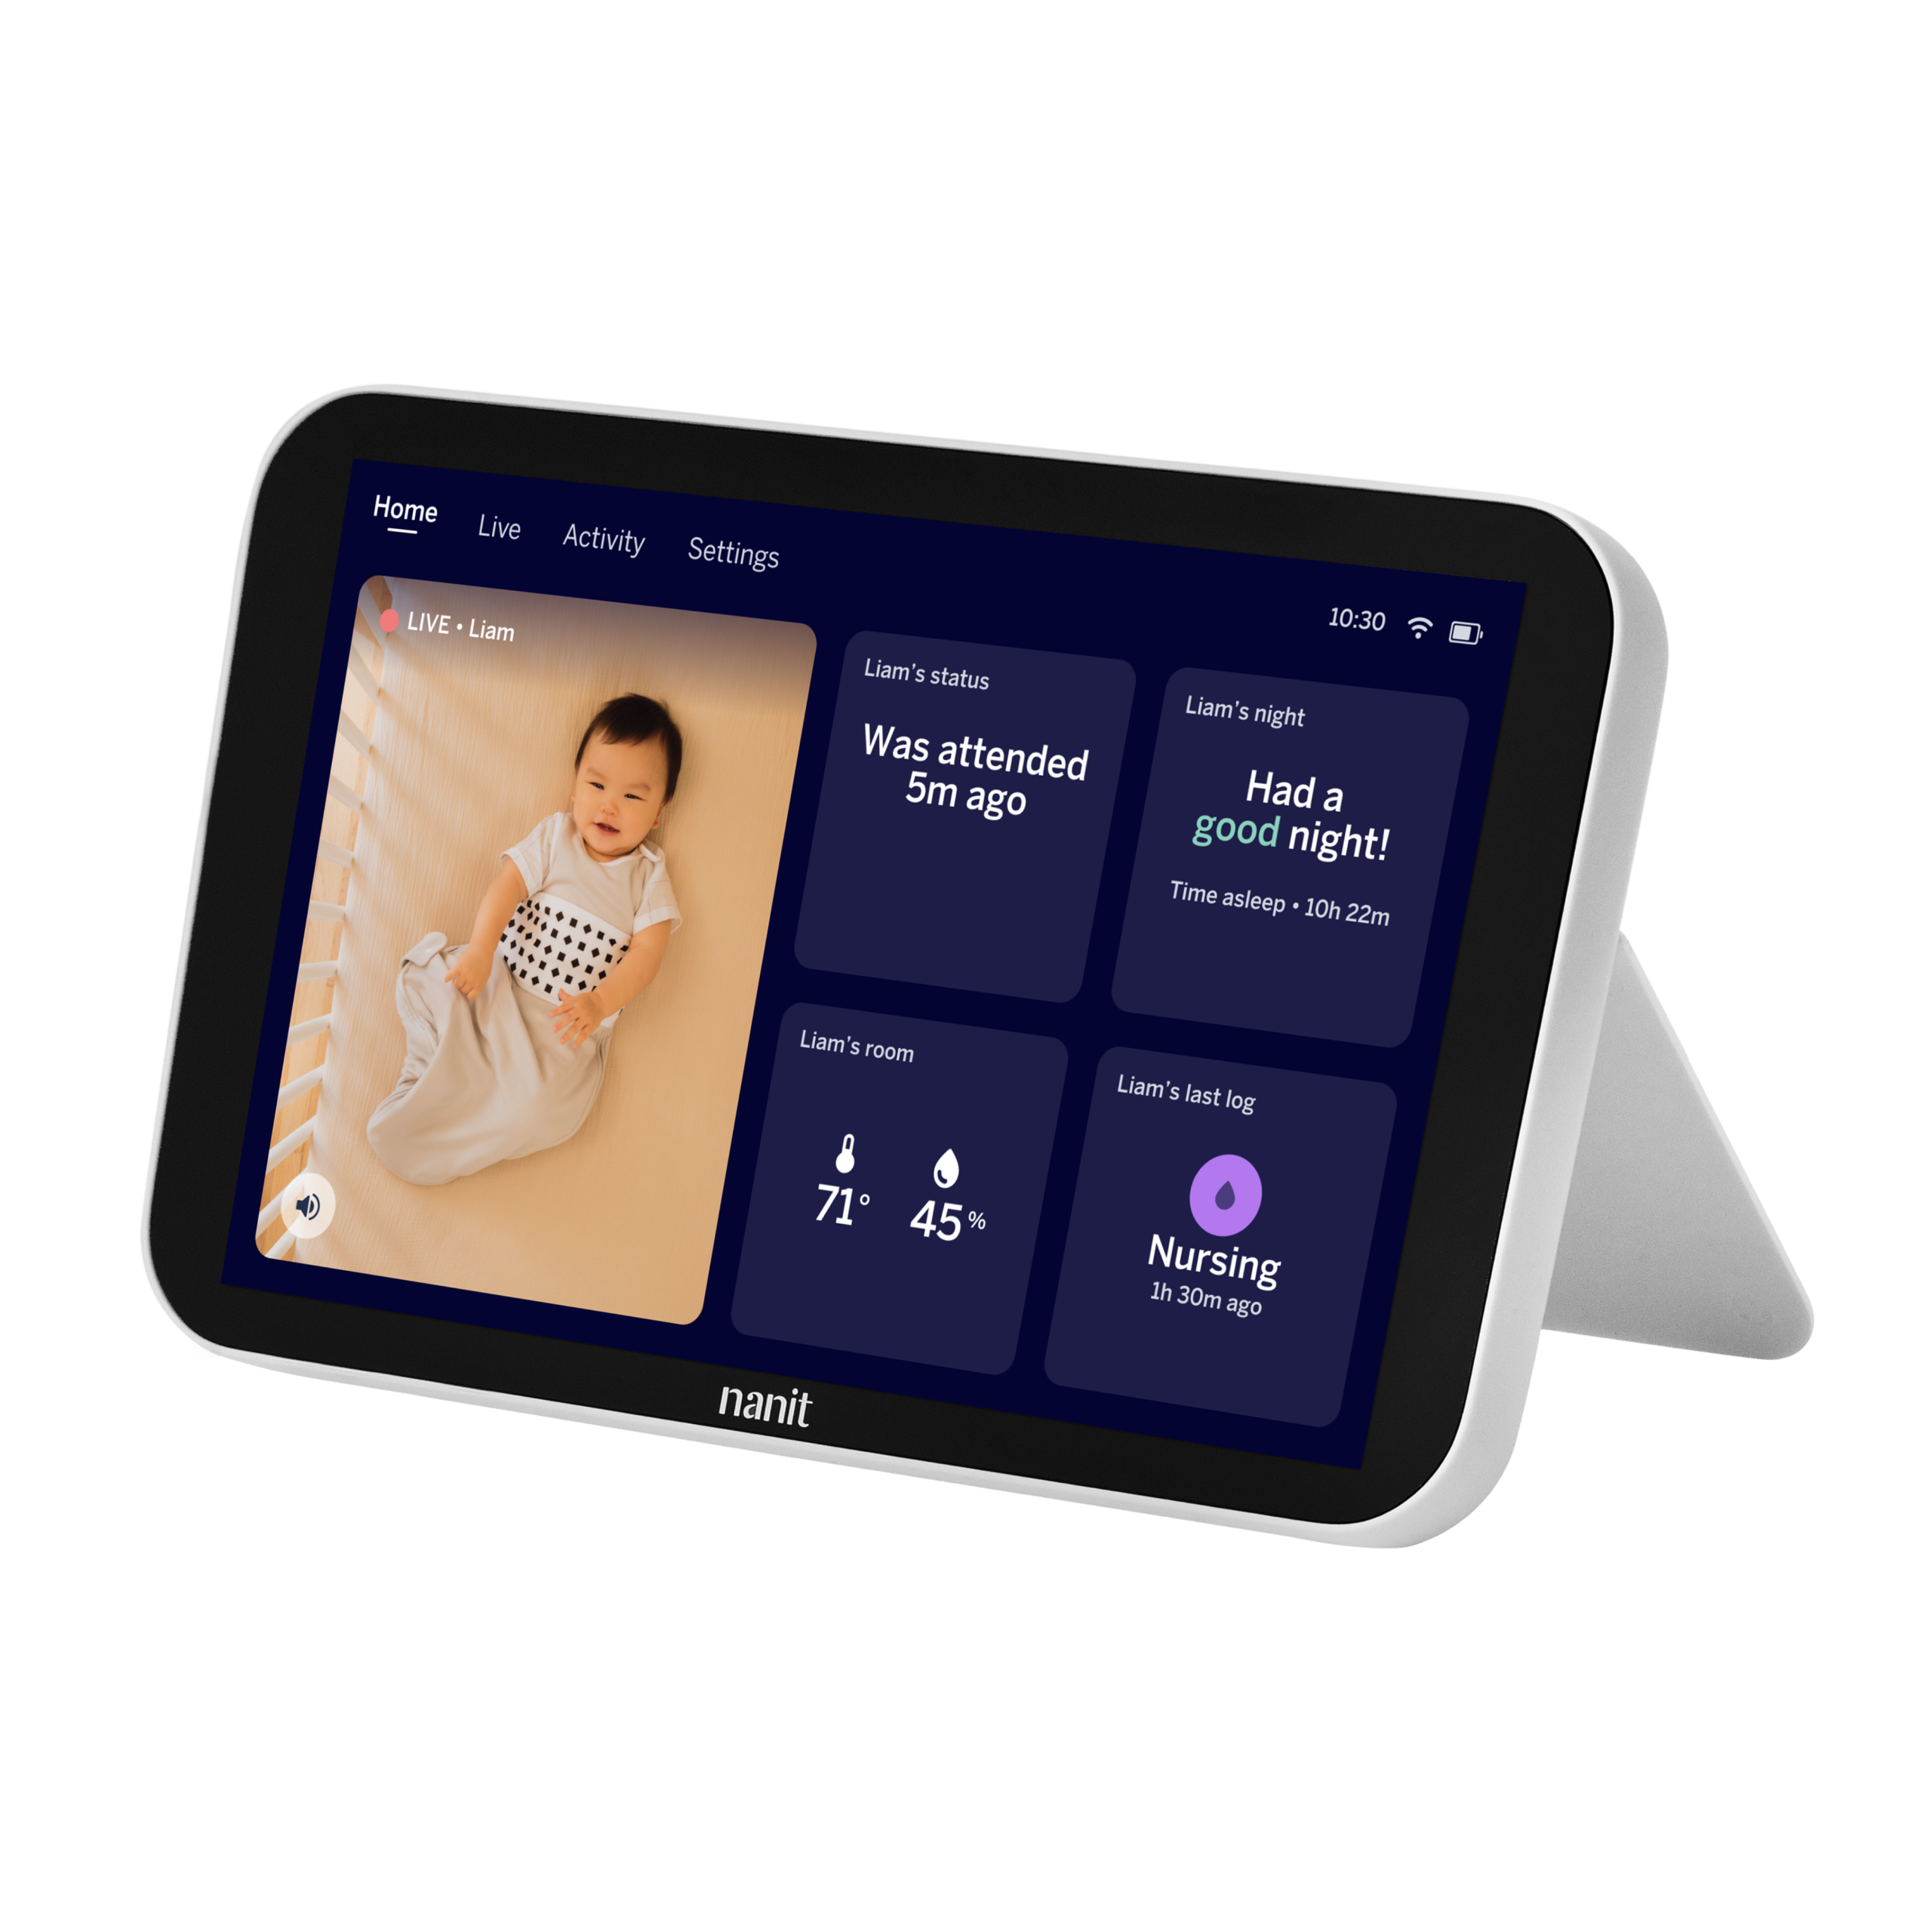
That last point is the part I appreciate. A monitor should support your attention, not compete for it. Less phone scrolling is a small but meaningful win when you are already tired.
Which Nanit features support your sleep goals?
Once the basic view is sorted, decide which information will genuinely help. Nanit is designed to track sleep and breathing motion, with personalised insights and advice in the wider system. Those tools are most useful when you treat them as patterns to discuss and understand, not as a replacement for your own judgement or professional medical advice.
For a fuller setup, the Best Sellers Bundle is a collection of popular essentials, so it makes sense for a registry or a first nursery setup when you already know you want more than the camera alone. The Signature Bundle is the more complete route if you want to build around an all-in-one arrangement.
- Use sleep data for routines: look for repeated patterns over several days.
- Use breathing motion features thoughtfully: follow the product guidance and keep safe sleep practices central.
- Use video history for context: review what happened before a wake-up rather than guessing.
- Keep expectations realistic: technology can support observation, but it cannot replace care.
I would choose the bundle only after writing down the jobs you want it to do. If you need the camera, a flexible mount and a broader kit, the Best Sellers Bundle is easier to compare than adding items one by one. If you are building a gift or registry list, the Signature Bundle gives you a clear single destination to review.
Which Nanit accessories solve a daily problem?
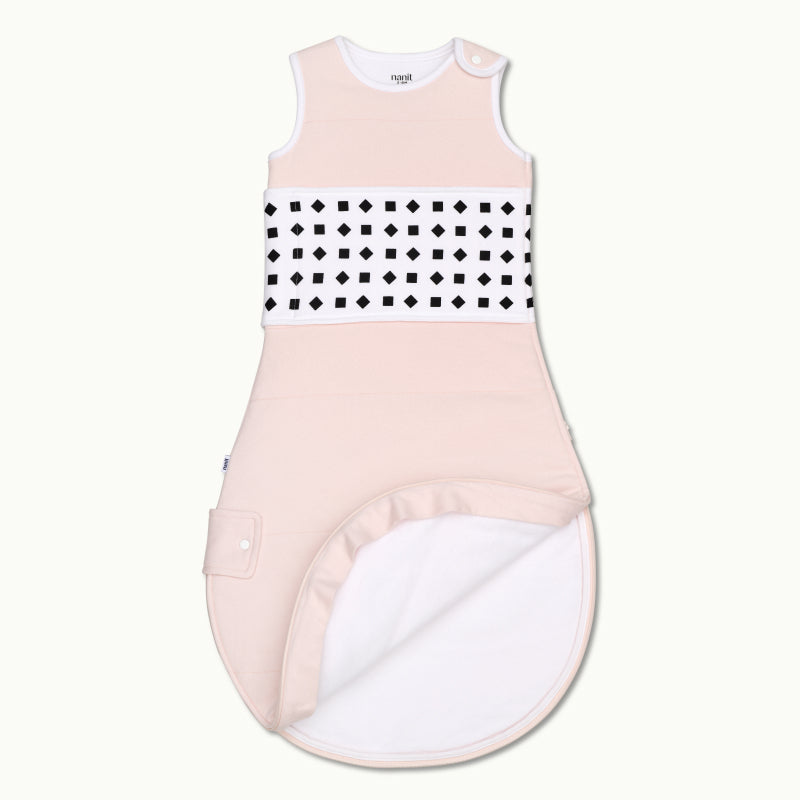
The most useful add-ons are the ones that remove a small daily irritation. For colder rooms, Breathing Wear Quilted Sleeping Bag is a wearable sleep layer with Nanit breathing wear technology, so it belongs on the list when you want a dedicated sleepwear option rather than another decorative nursery purchase.
Cammies are another practical detail. I would choose the Cammies 4-Pack if laundry is already a daily negotiation. It is a small example of matching the product to real life, which is usually more valuable than chasing every available feature.
- Buy for temperature: choose sleepwear that suits the room and the baby.
- Buy for laundry: packs can make sense when changes are frequent.
- Buy for portability: travel-friendly accessories earn their space.
- Skip duplicates: check what is already in your nursery before adding another mount or cable.
For that reason, I would start with one wearable sleep option and add more only after a week of using the monitor. The best setup is the one that feels calm at 3 a.m., not the one with the longest packing list. You can browse Nanit’s current accessories when a specific need appears.
Before you place an order, compare the current Nanit bundles with the individual monitor options. Nanit advertises free shipping above a minimum order value and a money-back guarantee on its site, but promotions, availability and terms can change, so check the live product page at the time you order.
How can you set up Nanit for a calmer night?
When the box arrives, keep setup boring and methodical. Assemble the mount, place the camera so the whole sleep area is visible, connect the app and test every alert before bedtime. Then sit in the room and check the view from the places where you actually spend time. A beautiful nursery angle is not much use if the camera cannot see the cot from its normal position.
- Secure the mount and hide loose cables away from the sleep area.
- Test the live view in daylight, dim light and the dark.
- Set notification preferences so important alerts are noticeable but not constant.
- Invite the other caregiver and agree who responds first.
- Review privacy and account settings before sharing access.
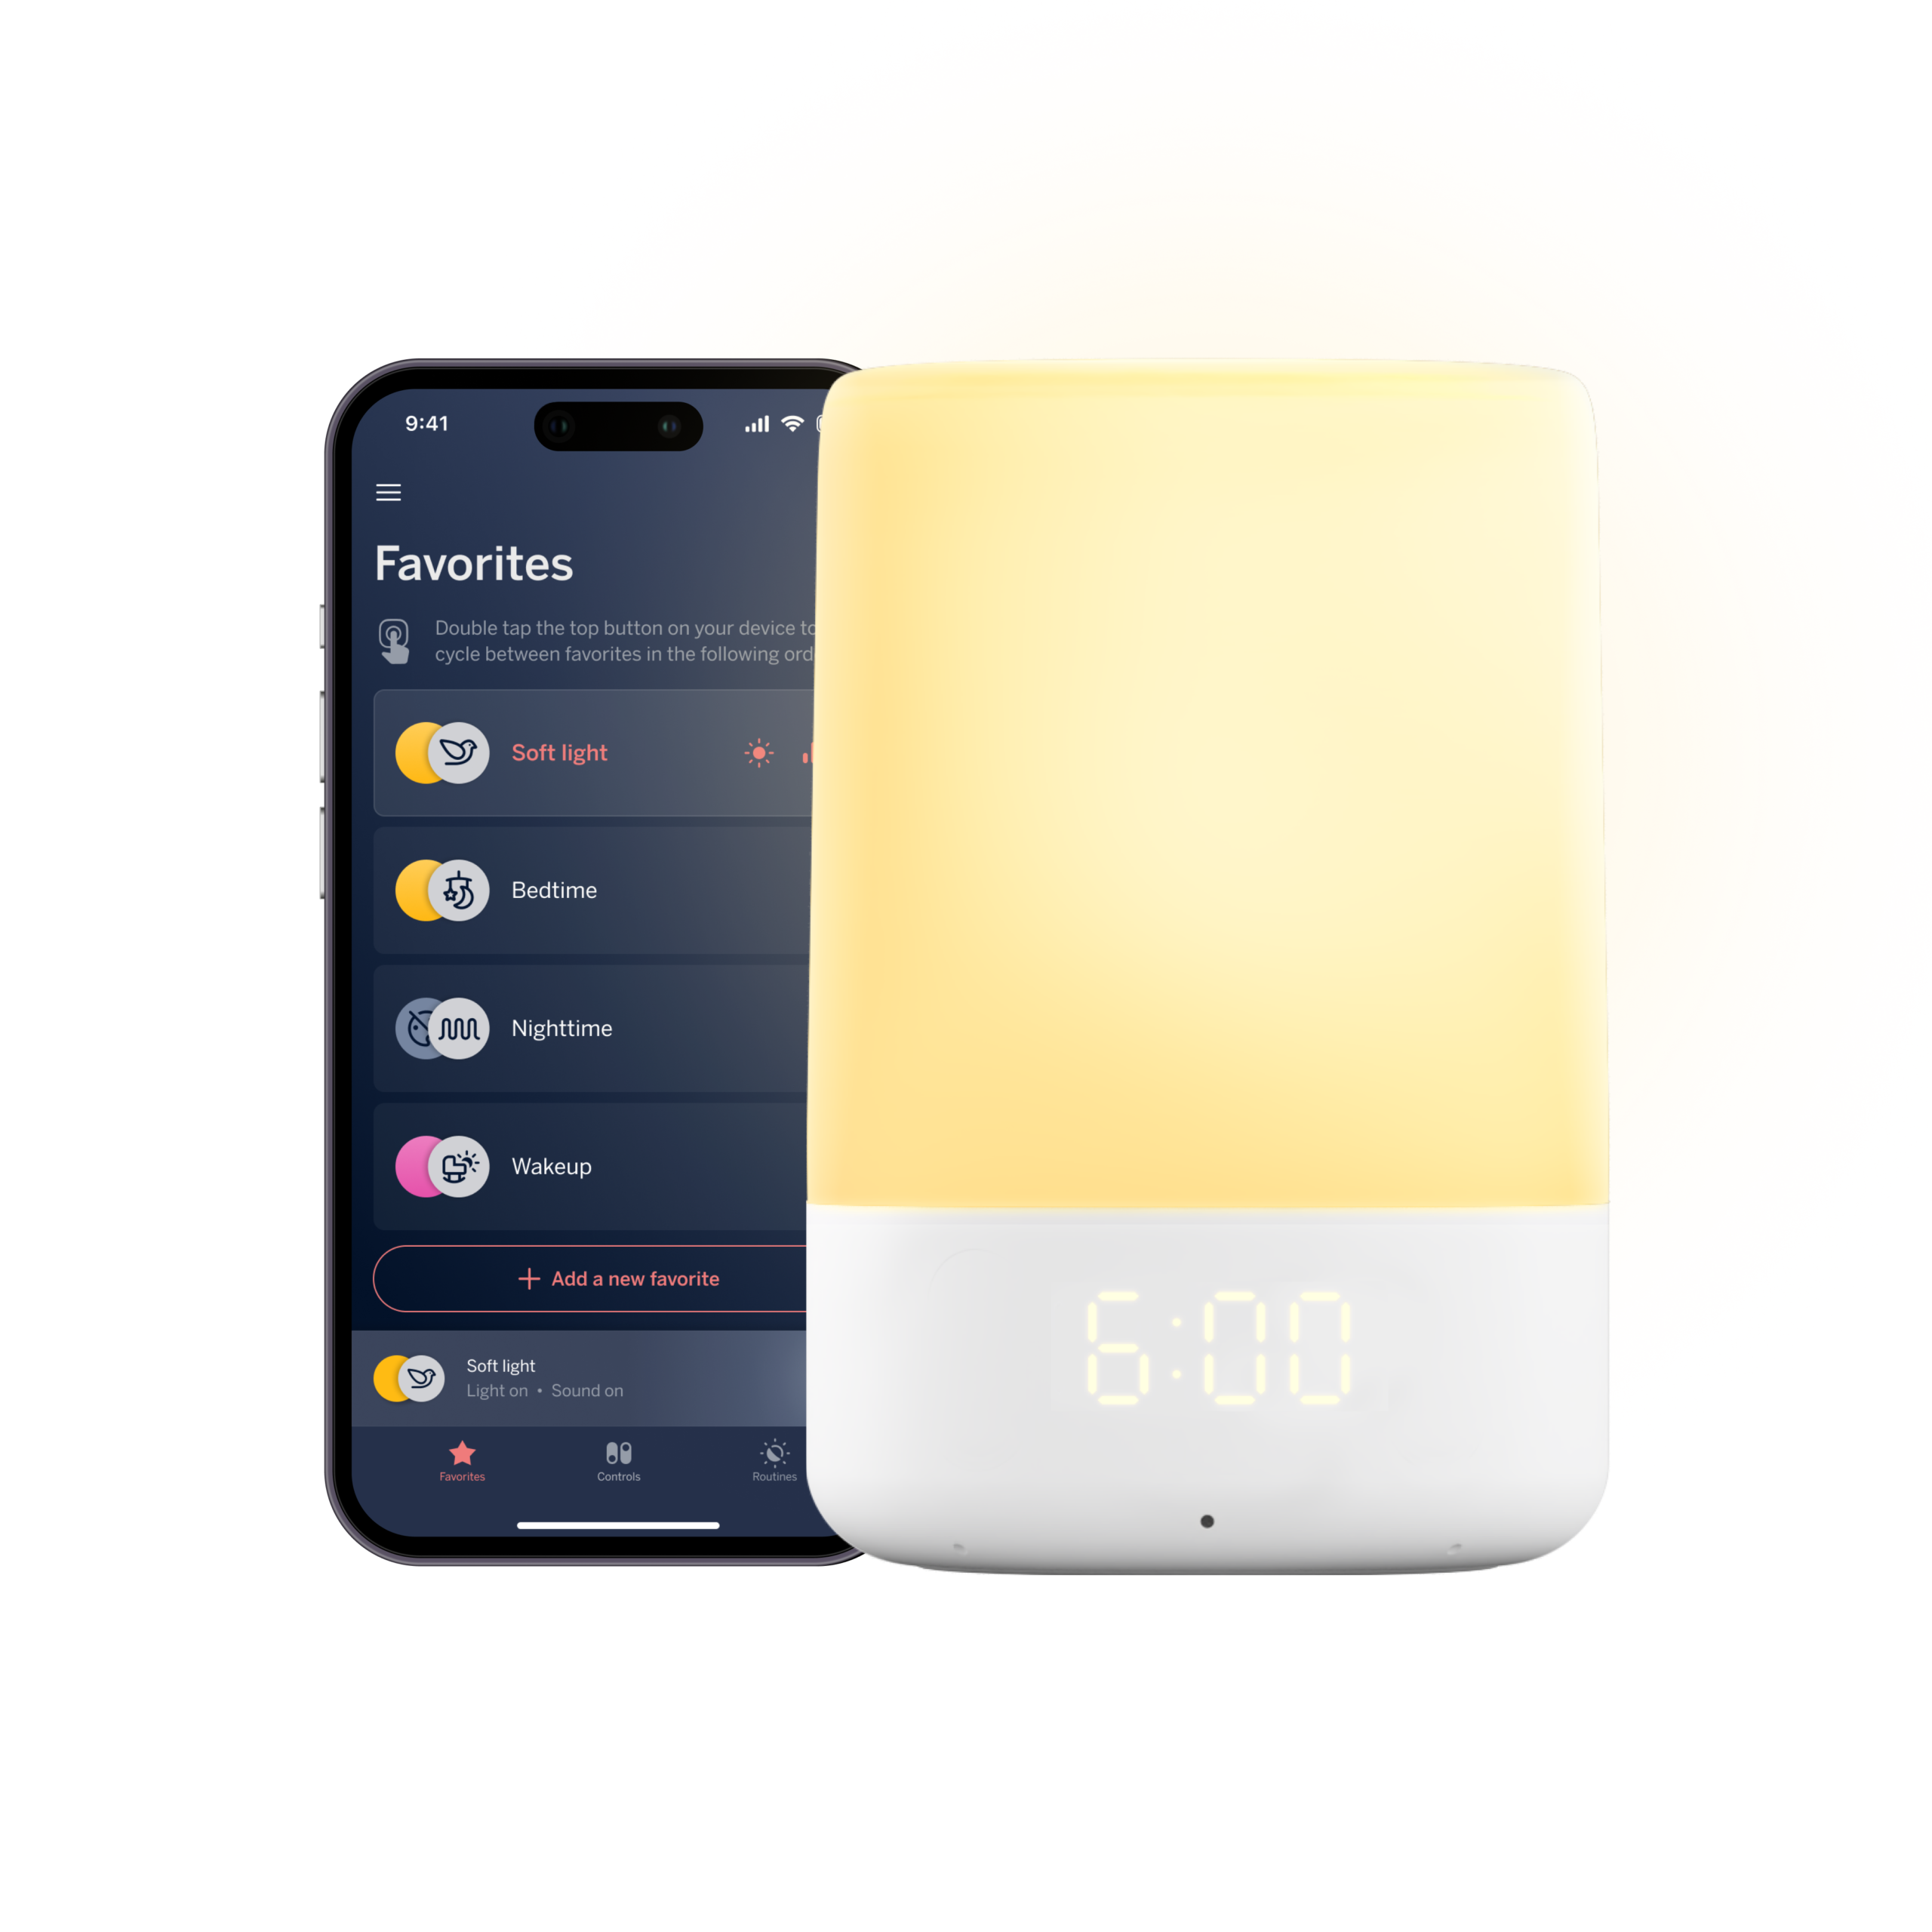
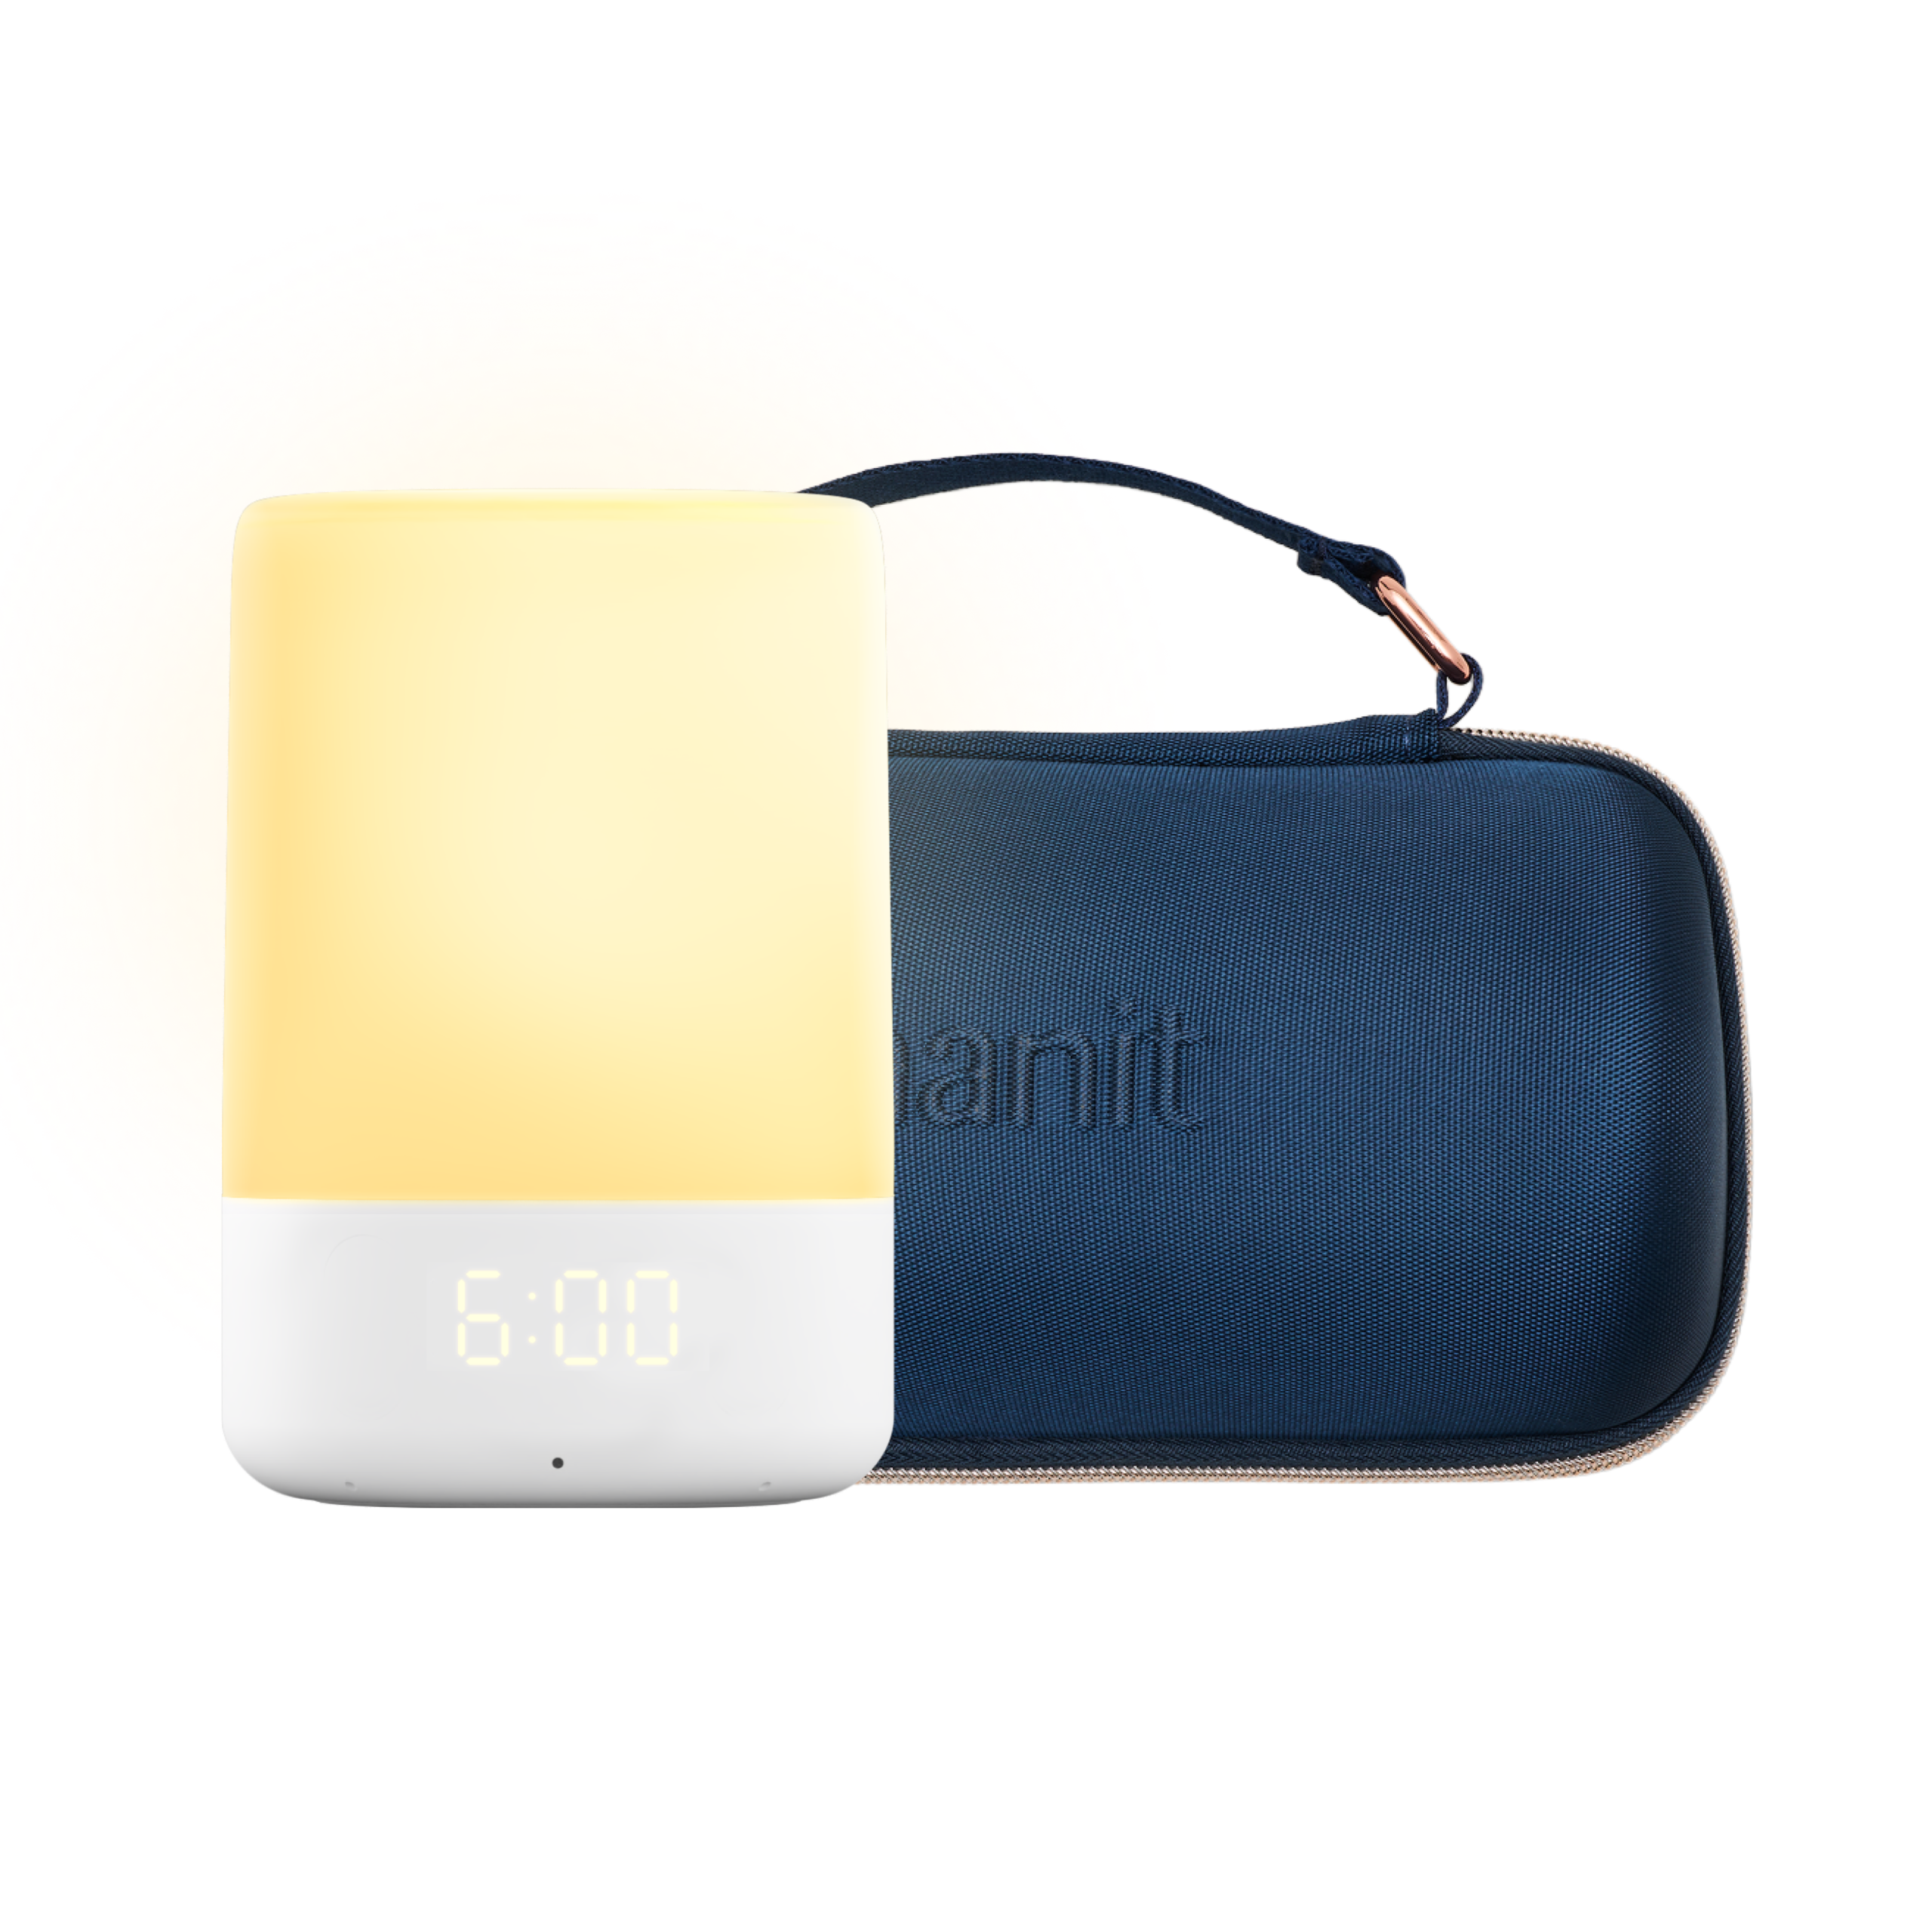
If sound is part of your routine, the Sound + Light Machine combines soothing sounds and a light in one bedside device, which can be helpful when you want the same wind-down cues each evening. Keep volume sensible and place any device safely away from the cot.
Finally, remember that a monitor is there to make care easier, not to make you watch constantly. Use repeatable routines, clear safe-sleep habits and the information that helps you make a decision. Nanit is compelling because it turns a camera into a broader nursery system, but your family rhythm should decide which pieces make the cut.
A few small habits will make the technology feel more useful over time. Give the camera a quick wipe when you clean the nursery, check that the mount has not shifted after moving furniture and review notification settings when your baby’s routine changes. If a second caregiver is taking over mornings, make sure they have the access they need before you are trying to explain it while half awake. I also like keeping a simple note of bedtime, wake-ups and anything unusual for the first week. That gives the sleep information some context and stops one restless night from feeling like a full trend. When you travel, pack the parts you actually use and test the temporary angle before bedtime. The goal is a dependable routine that fits around family life, rather than a perfect dashboard that asks you to reorganise the entire room. For setup questions, keep the Nanit product information open while you check each step.
That is my final checklist: start with the room, choose the viewing method, add the features you will actually use, then test the whole setup before the first difficult night. If you want to compare the camera, display and bundle options in one place, review Nanit’s current collection and check the live prices before choosing.